While this tutorial demonstrates cryptocurrency mining, the real goal of brickbox.io is to level the playing field and distribute opportunity to all AI/ML developers around the world.
The goal of this specific tutorial is to demonstrate the ease and accessibility that brickbox.io provides.
To Start your brickbox instance, you simply click “Place Brick” in the Dashboard.
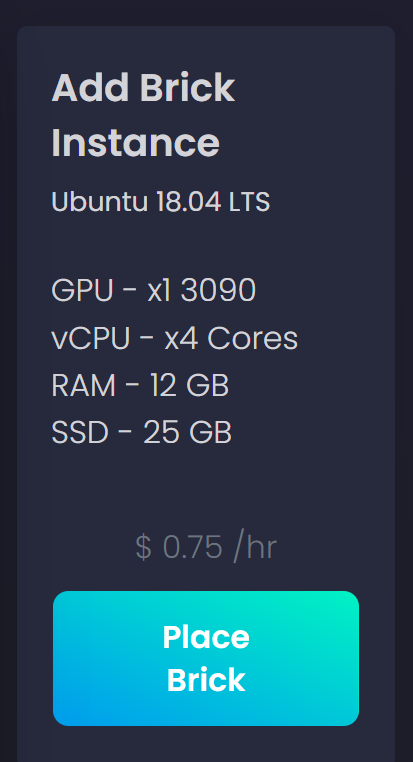
Placing a brick is a fancy way of starting a new virtual instance.
Once the new instance is created, you will be assigned a unique address and port number to connect to via SSH. In this example, the unique address was vm.brickbox.io and port 1040. You can connect to your instance using the following command:
ssh root@brickbox.io -p 1040
note: this address will be unique to you so be sure to swap out the accurate address and port
Once connected, I used wget to grab the latest tarball from PhoenixMiner’s website.
wget https://phoenixminer.info/downloads/PhoenixMiner_5.7b_Linux.tar.gz
Once the download is complete, you will then extract the tarball with the following command:
tar xvzf PhoenixMiner_5.7b_Linux.tar.gz
Once the tarball is extracted, you can change to the Phoenix Miner directory:
cd PhoenixMiner_5.7b_Linux
Finally, you’re ready to mine! Simply configure the miner to use the mining pool and address of your choice. We used the following:
./PhoenixMiner -pool eth-us-east1.nanopool.org:9999 -wal 0xfAaC74CE4f0ACBa87a62fF25Ef13f3Fd8Ae2C33f.brickbox1
Video Instruction: Mining Ethereum in the Cloud with Brickbox.io - YouTube